Tymah's Forge
Some of the cutest unique PC accessories you've ever seen!

Links
Secret Menu
Due to certain circumstances with Etsy's platform, I can't sell these designs on Etsy with photos and descriptions. However, with my Secret Shrouds listing on Etsy, you can order these if you request using the right codeword associated with the shroud and color. Here is a gallery of all my secret menu shrouds!
To successfully place your order, you need to specify the codeword, the color, and the size of the shroud, in that order. If there is a typo, or any part of the text is unclear, your order will be refunded and not shipped! If you're not sure your codeword will work, send me a DM on Etsy! Secret menu shrouds are not inventoried, meaning they will be made to order with a lead time of approximately 4 - 10 days.Examples of codeword inputs
Blaze White 120 = Howl's Moving Castle 120mm White
Greetings Pink 140 = Sanrio 140mm Pink
| Design | Codeword | Price | Color |
|---|---|---|---|
| Sanrio | Greetings | $16 | Single color |
| Howl's Moving Castle | Blaze | $16 | Single color |
| Cardcaptor Sakura | Clow | $16 | Single color |

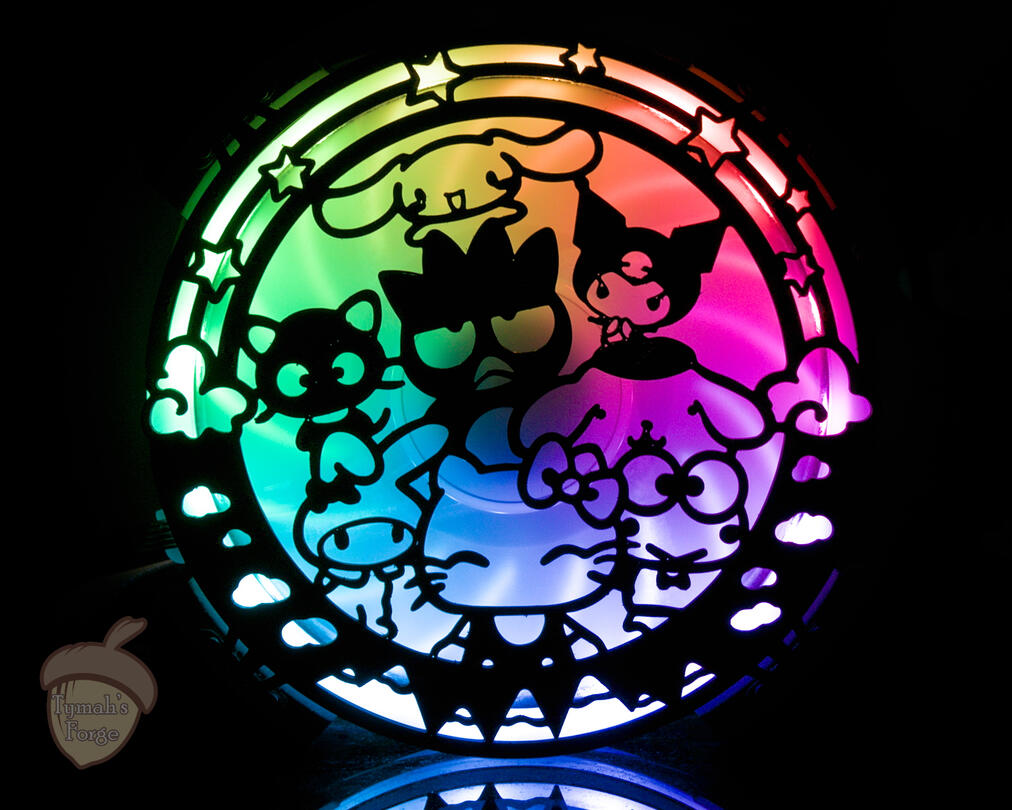
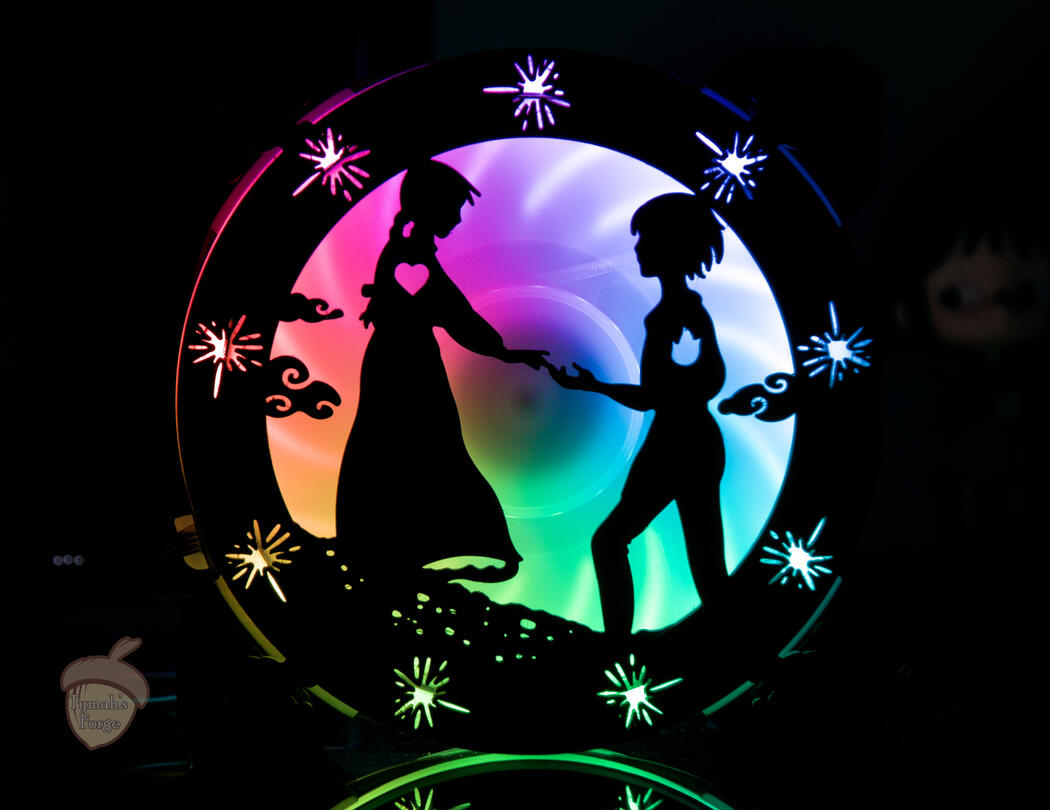
Sanrio

Howl's Moving Castle

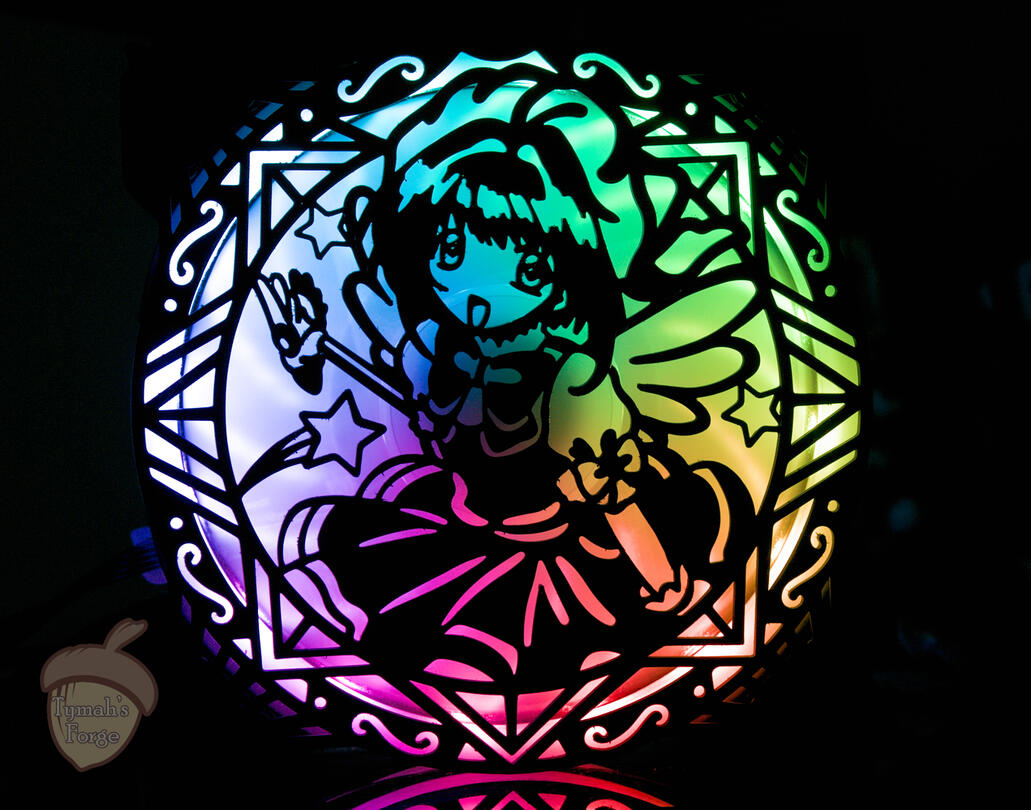
Cardcaptor Sakura
Available Colors
| White | Black |
| Pink | Purple |
| Aquamarine | Red |
Instructions
Click on the image of your product for instructions

Fan Shrouds

PC Figure Shelves


Decorative Stick-on Plates
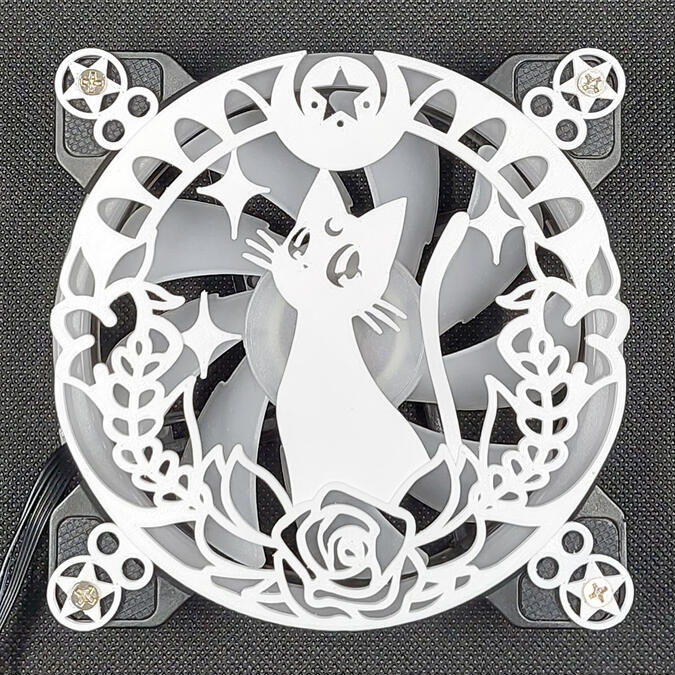
Fan Shroud Installation
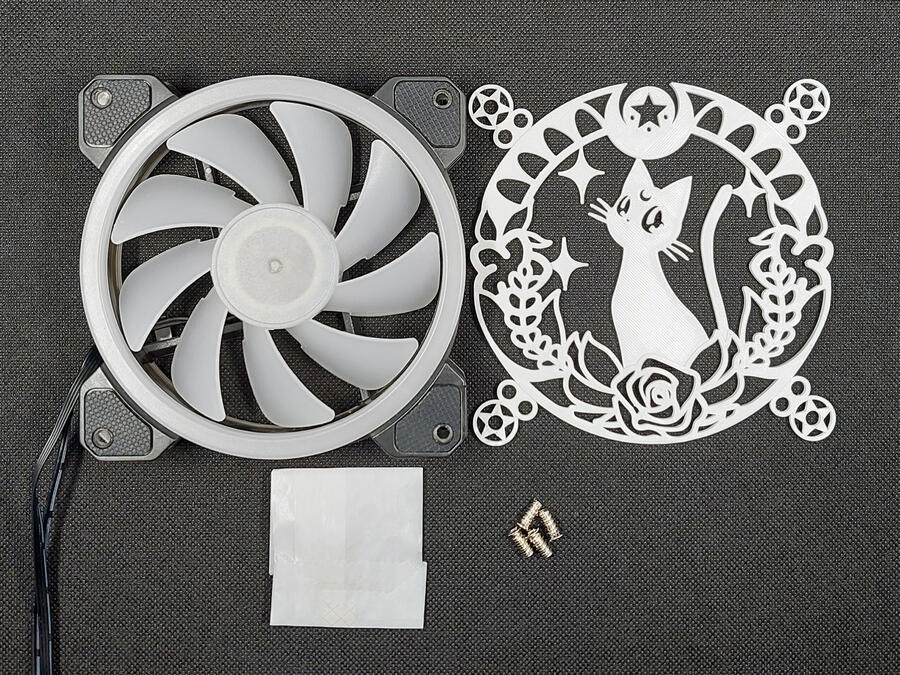
1. Turn off your PC before opening it up. You should remove the sticker from the middle of the fan for a cleaner look.
2. Place the shroud over the fan and align the holes on the corners.
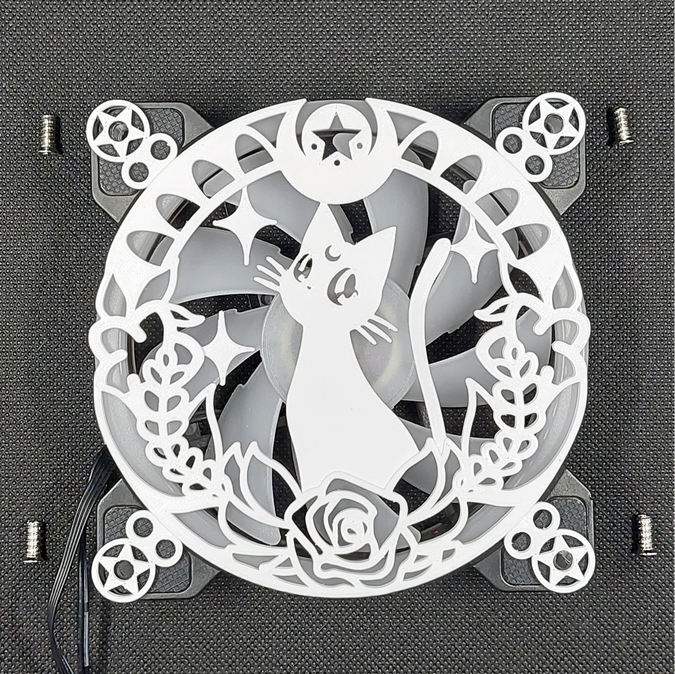
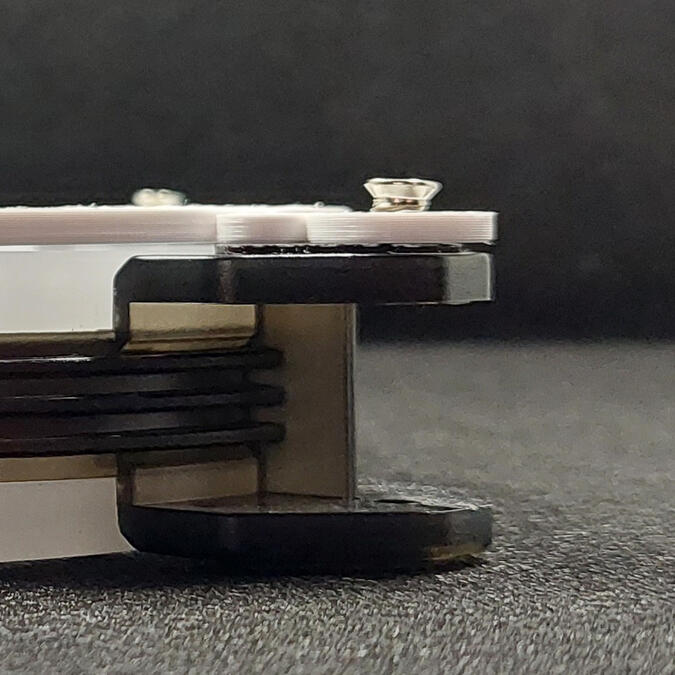
3. Screw the shroud to the fan loosely. You may feel a resistance when tightening the screws, which is normal, as you're cutting threads into the fan using the screws themselves.
4. Tighten the screws in an X pattern. Make sure not to overtighten, so the shroud is flush against the fan without twisting at the corners, or bulging towards the center.
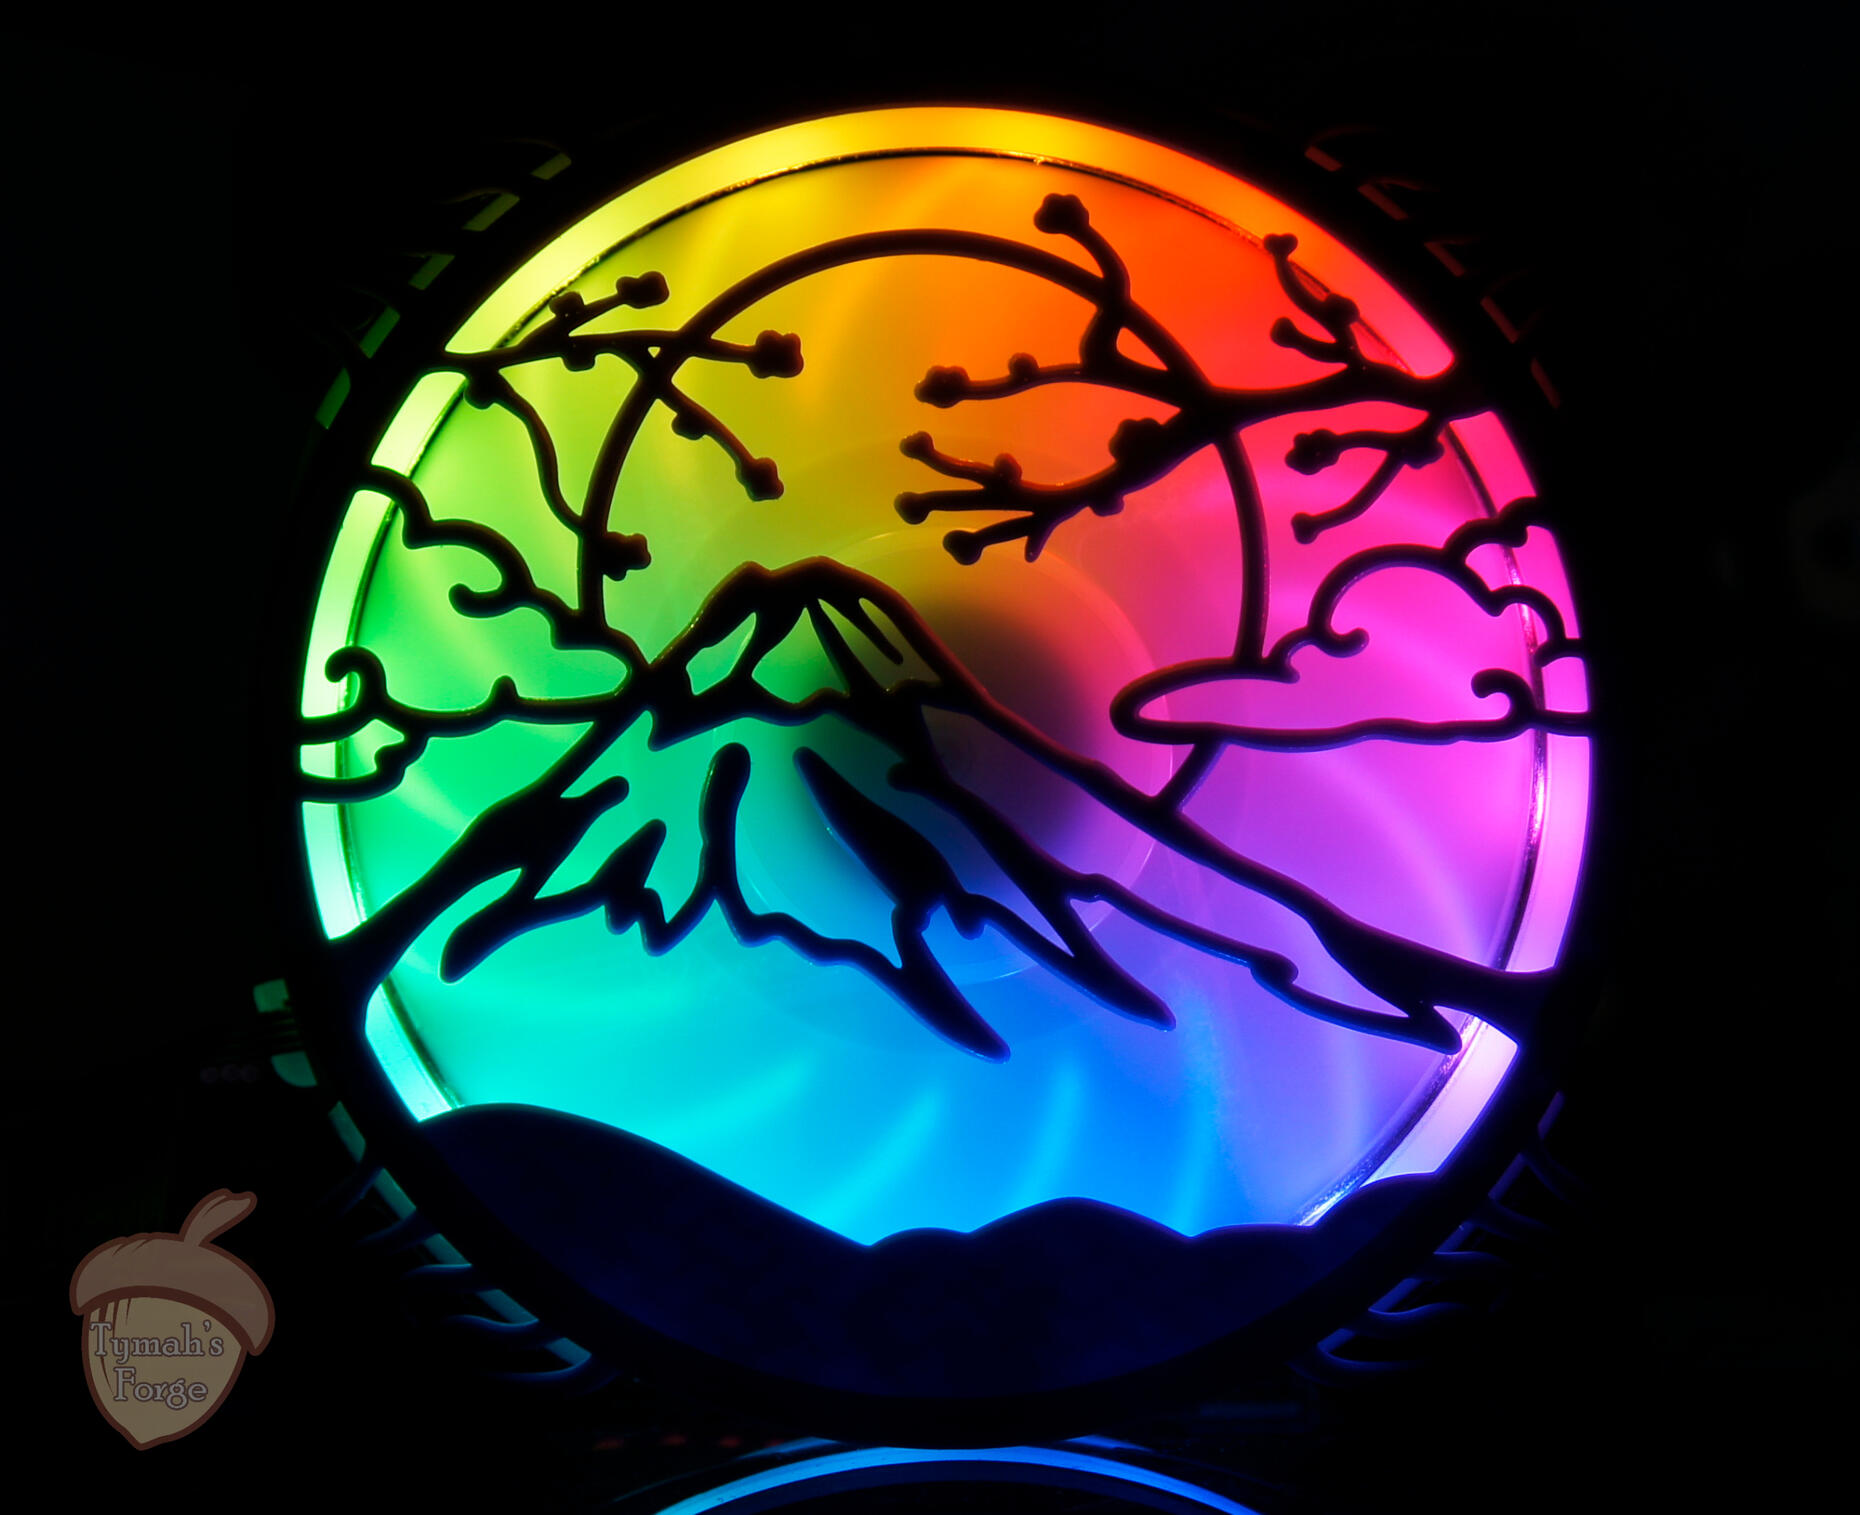
Be sure to experiment with LED colors to see what looks best for your shroud and PC! Your fan shroud may slightly impact your PC performance negatively, but it is very manageable. Depending on the shroud design, there may be no impact, such as with Starry Nightscape or Vaporwave Aesthetic Mountain, since their designs are so open.
PC Figure Shelf Installation
Before installation, you may place the shelf over where it will be screwed to test for clearance. In the pictured example below with the NZXT H7 case, the cable organizer plate will interfere with full width shelves, but square cut shelves will fit just fine. Your case may be different, so please check your clearances!
![[photo of interior of PC case with clearance markings]](assets/images/image10.jpg?v=2af17b9b)
![[listing photo of plate bags with visible putty]](assets/images/image06.jpg?v=2af17b9b)
1. Turn off your PC before opening it up. Check the back of the intake fans for screws - if there are screws fastened to the bottom two corners, unscrew them, as the shelf will be screwed to the bottom of the fan.
2. Prepare the figure shelf as well as the screws. Screw in two screws to the holes on the shelf from the platform side. You may use the screws that were unscrewed from the PC fans, or the silver screws provided in your order.
![[listing photo of plate bags with visible putty]](assets/images/image07.jpg?v=2af17b9b)
![[listing photo of plate bags with visible putty]](assets/images/image08.jpg?v=2af17b9b)
3. Place the shelf over the bottom holes of the back of the fan. In the configuration shown in this photo, it may be helpful to push the fan from the other side to make sure the screw catches the fan holes.
4. Fully screw in the shelf tightly. It should be secure, with little play.
![[listing photo of plate bags with visible putty]](assets/images/image09.jpg?v=2af17b9b)
When securing shelves to middle or lower fans, the GPU may be obstructive, such as shown in the photo below. If it is too difficult to screw the shelf, you may unplug and remove the GPU temporarily, until the shelf is secured. Please make sure to use proper precautions when handling the GPU to avoid electrostatic discharge and potentially damaging the GPU!
![[listing photo of plate bags with visible putty]](assets/images/image11.jpg?v=2af17b9b)
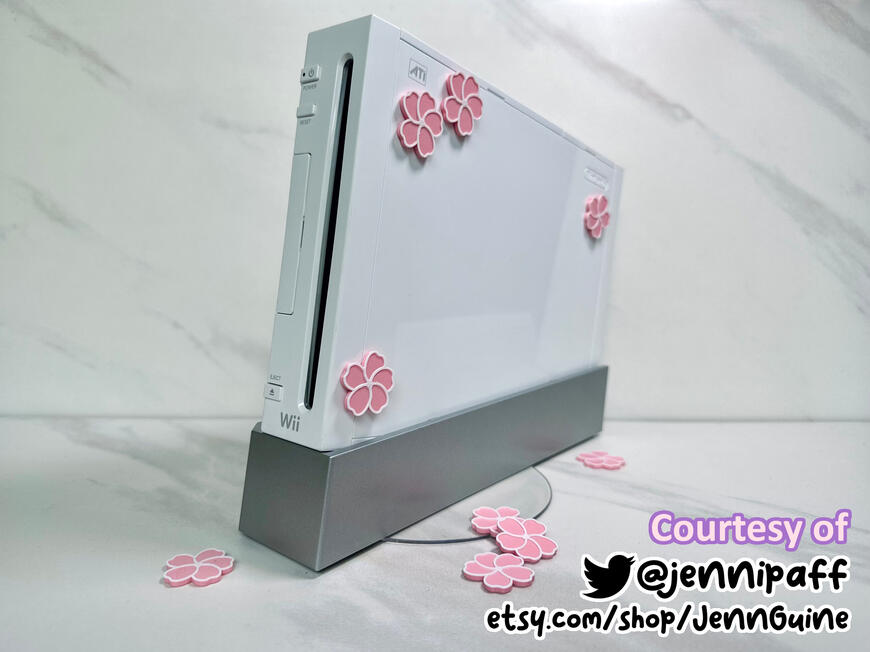
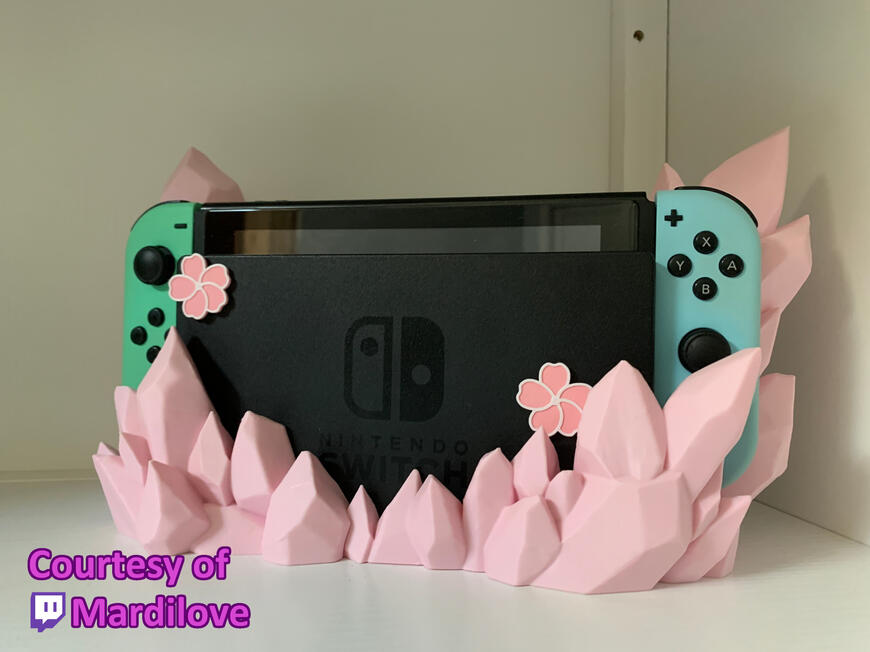
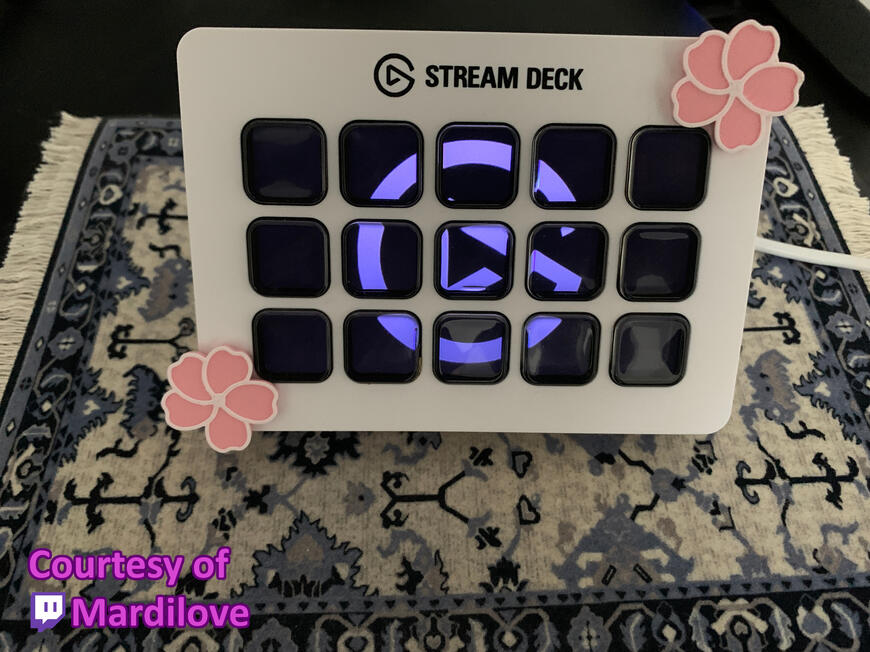
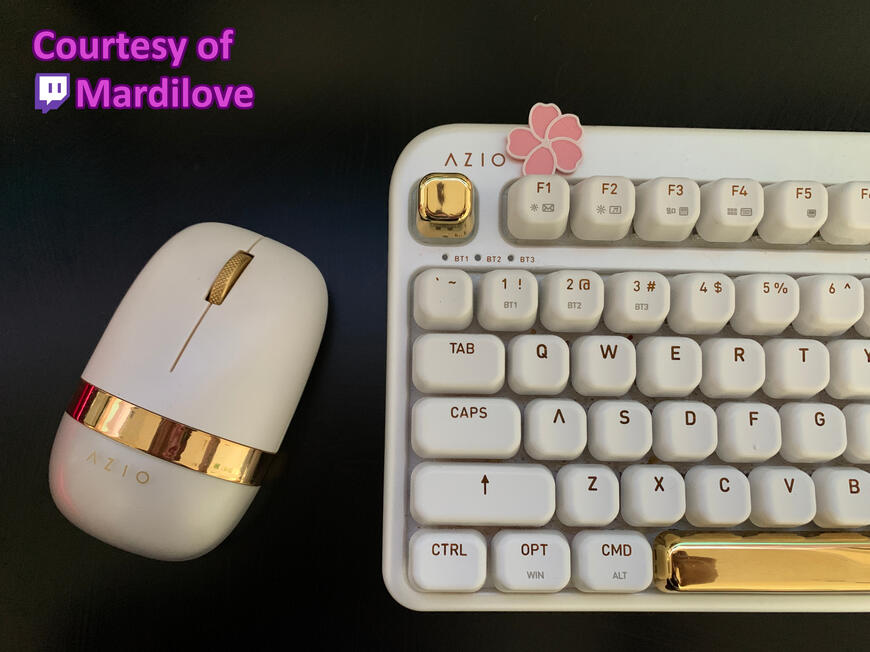
Decorative Stick-on Plate Instructions
![[listing photo of plate bags with visible putty]](assets/images/image01.jpg?v=2af17b9b)
Using the stick-on plates is very simple! Each bag will come with two squares of Faber-Castell Tack-It adhesive putty, and each square can be split to comfortably stick five plates.This particular adhesive putty is easy to peel away from surfaces, including the surface of 3D printed objects. As per Faber-Castell's instructions:
Simply roll Tack-It off the surface. To remove remaining pieces, dab some Tack-It over the area. Once removed, Tack-It can be reused!
The provided Faber-Castell adhesive putty is dermatologically tested and should be safe to handle for non-sensitive skin, however please refer to Faber-Castell's material safety data sheet for Tack-It should you have any concerns. Additionally, there are some important considerations when using Tack-It, as per Faber Castell's instructions:
Avoid using Tack-It on silkscreen, printed or hand-stencilled wallpaper, absorbent and loose surfaces. Ensure that the surfaces to be tacked on are clean and dry. On some surfaces, the oily residue may be removed by lighter fuel. Recommendations and suggestions for use are for your guidance only - please assess suitability of each application accordingly.
Yikes! Lighter fluid to remove oily residue sounds scary! But, I can personally confirm that in my usage of this putty, there has been no residue of any kind when using it on plastic, metal, and glass surfaces.
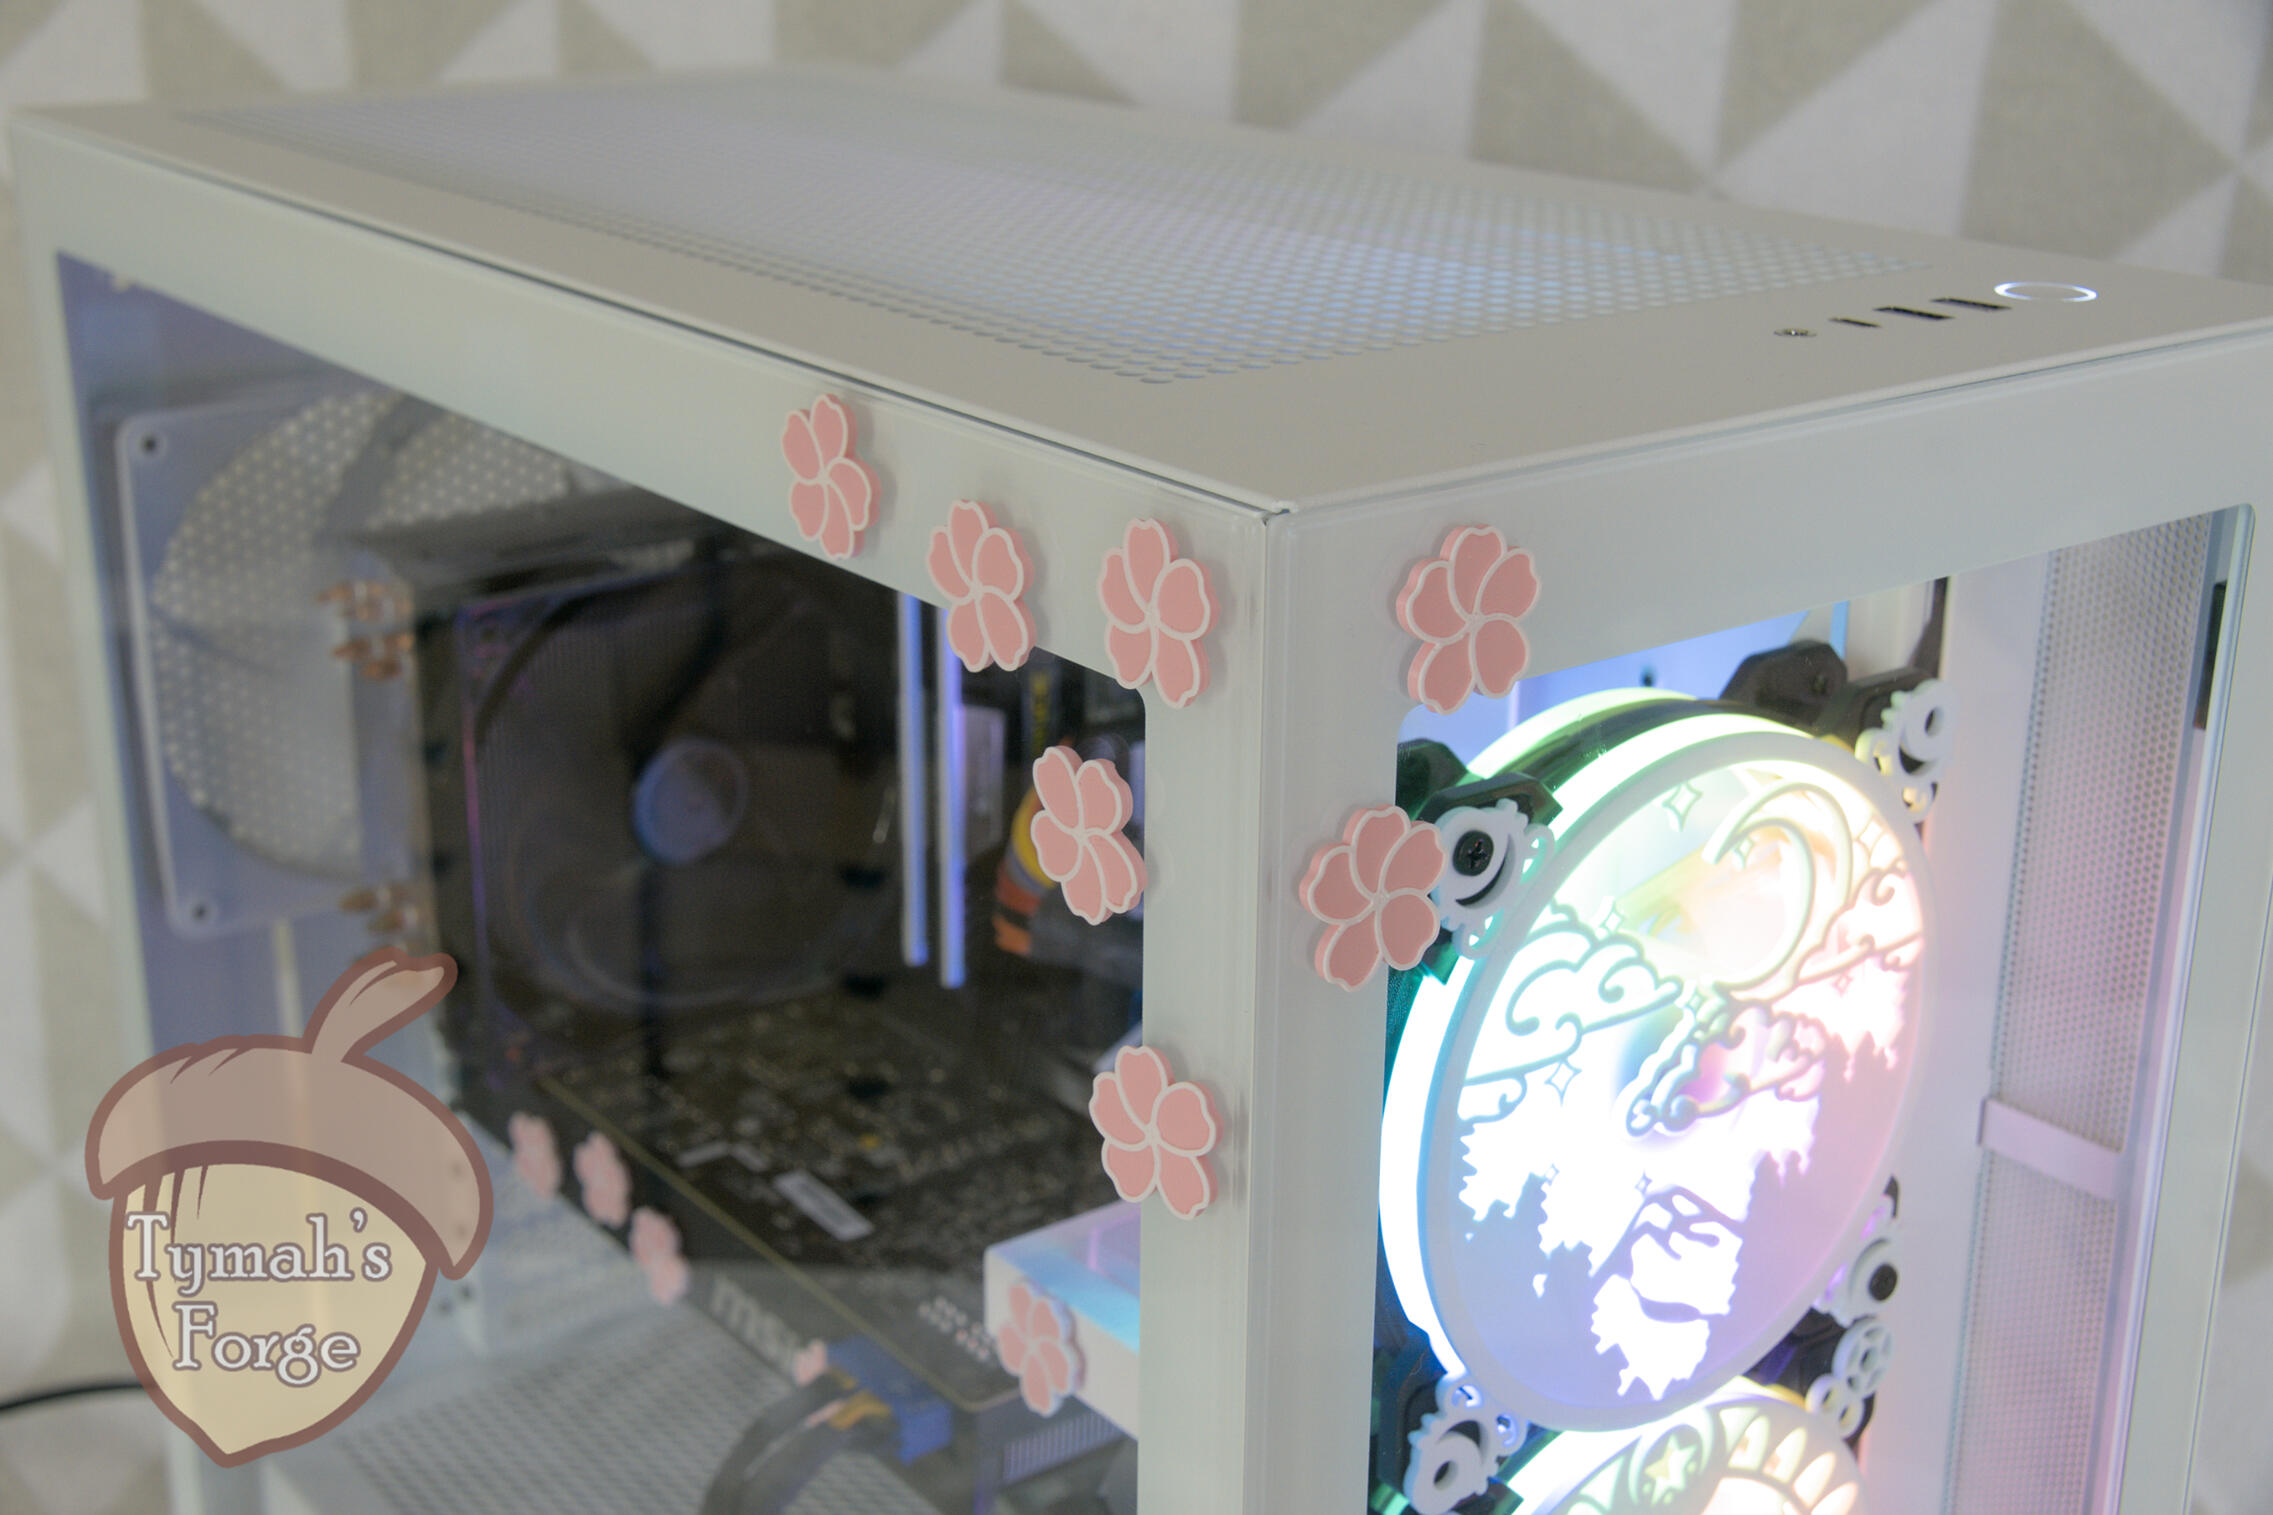
There really are no limits to decorating your gaming setup and living spaces with these - feel free to share photos of how you use these to decorate your accessories and spaces on Instagram!